

At the upper-left of the Network panel is an input-field that allows you to add concepts to the network image. Concepts submitted through this field will be incorporated into the existing network (in contrast to those submitted from the Selection input field which results in launching a new search with selected concepts).
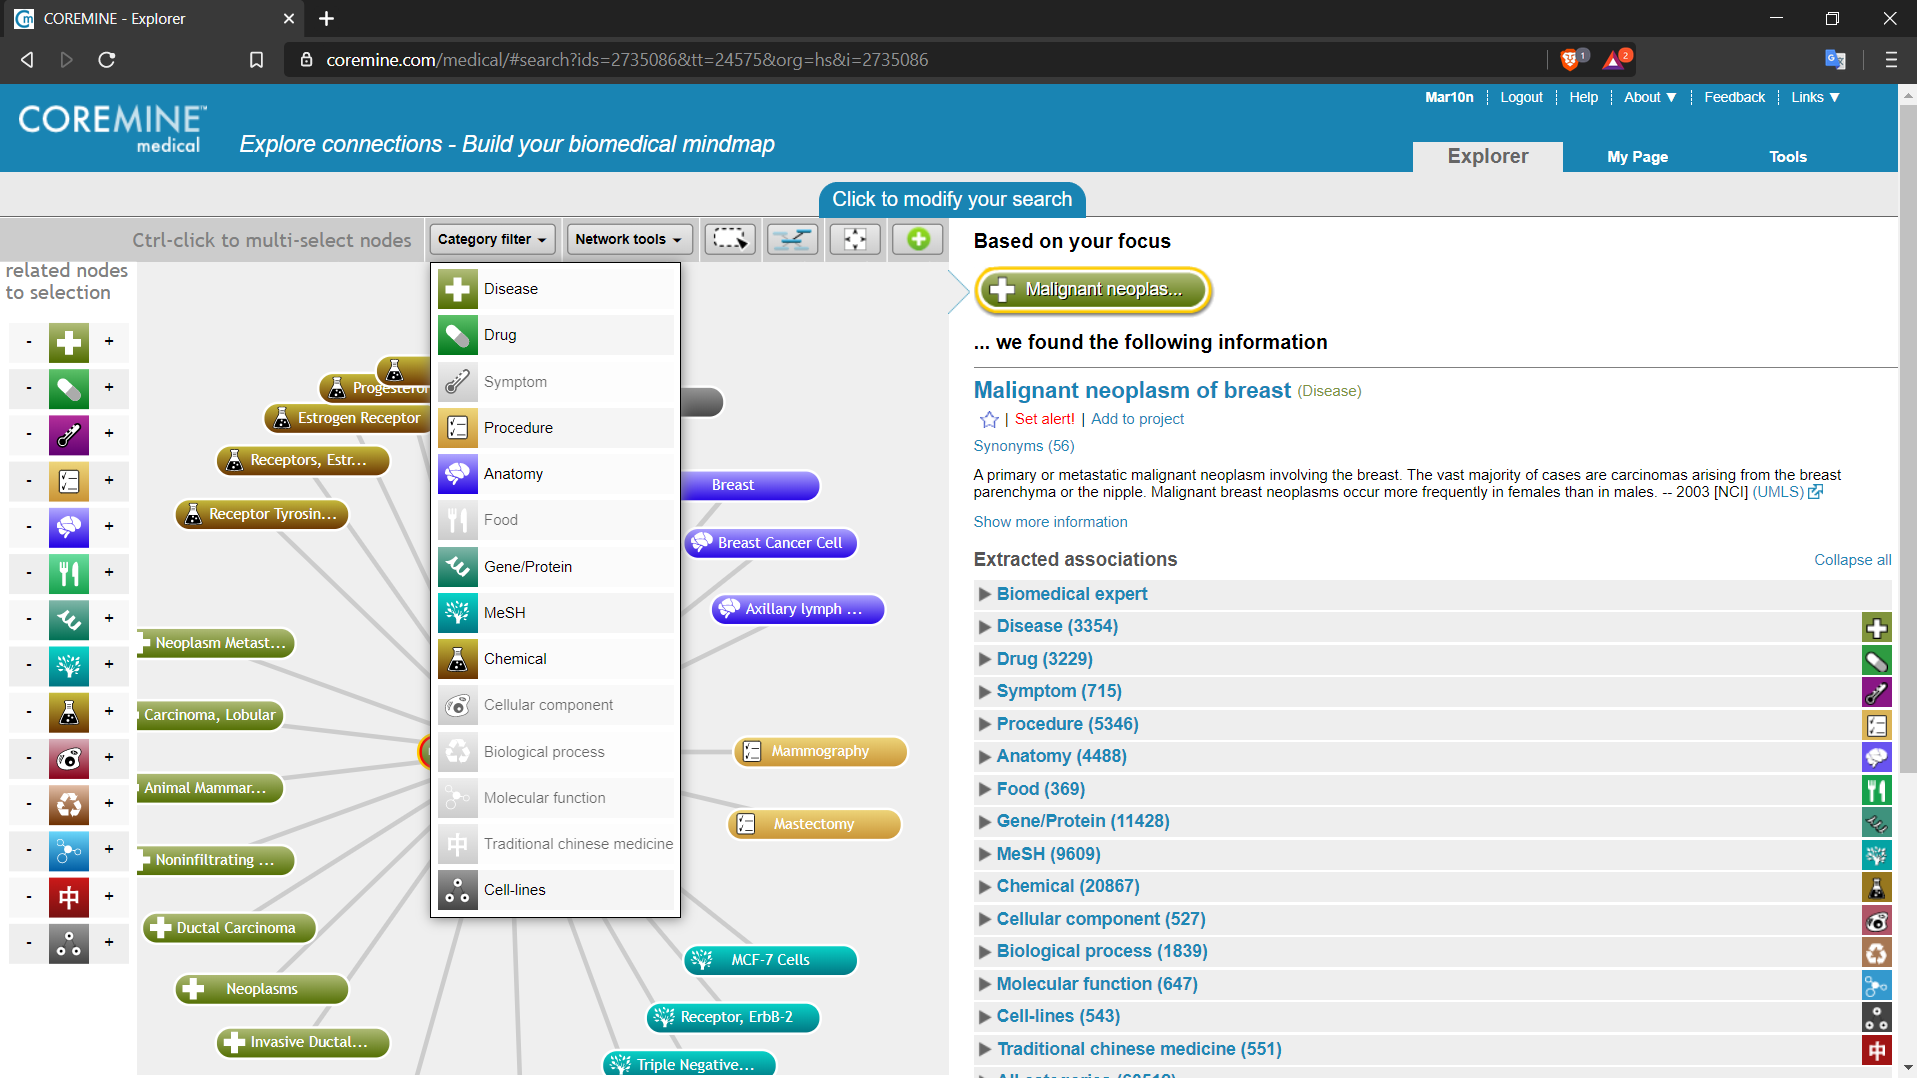
Clicking the buttons under this menu causes concept types to be removed according to category. Clicking the same buttons a second time restores those concept types. (Note that concepts used in the query are not removed regardless of the concept type category to which they belong).
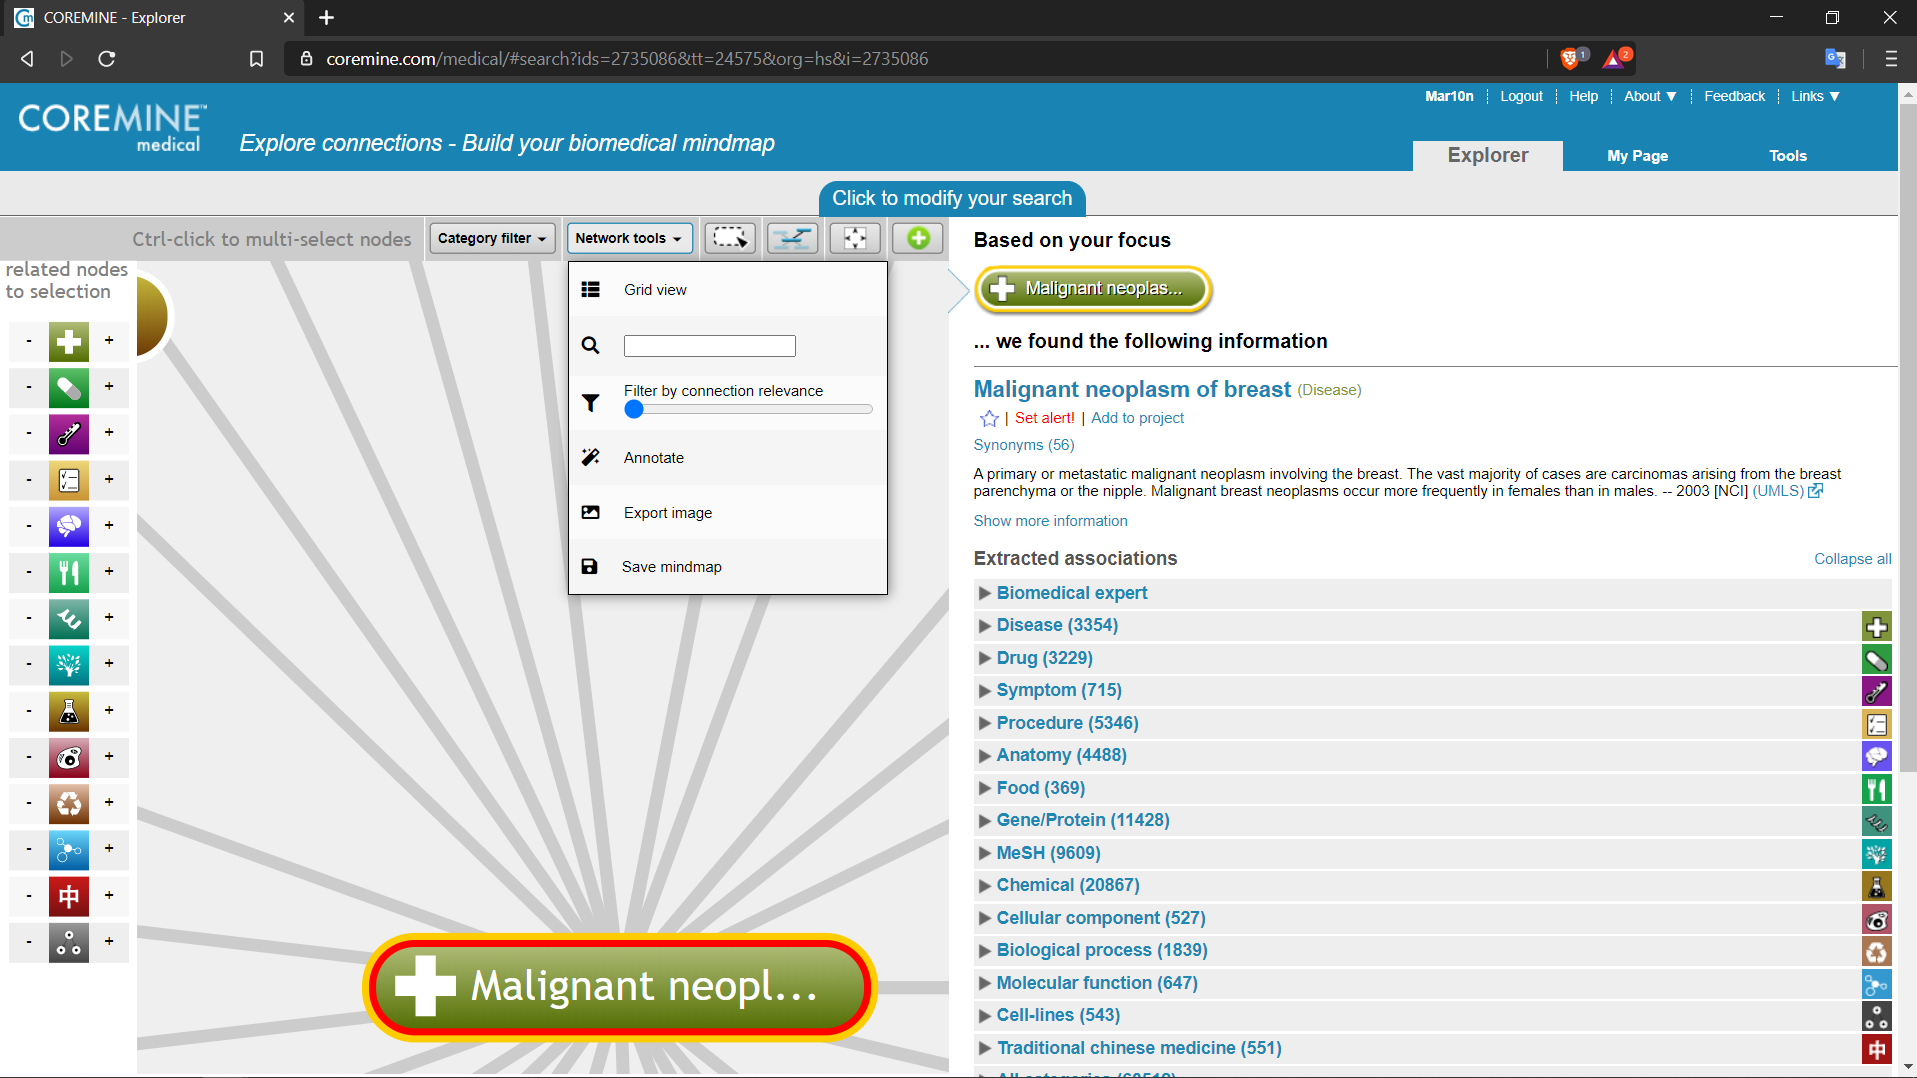
Choices under this menu allow you to modify views of the network.
This changes the presentation of the information in the network to table form. Note that you can also find an exhaustive tabular presentation of concepts under the Extracted Knowledge headings.
When the image is in Grid view, clicking the Network view button under the Network tools menu returns the presentation to network form.
Registered users can use this function to store results of the network when logged in. If not logged in, clicking Save will open a login window with the option to register as a Coremine Medical user.
Allows search for a concept within the network based on the spelling of that concept.
The slider bar adjusts which connected concepts are visible in the network based on the statistical significance of their connection.
Move and Select options allow different mouse actions on the network image. The differences in action are seen when the mouse-pointer is placed on the network image panel on the gray, background area (any part of the panel not occupied by a network node or edge).
In Move mode (the default mode), click and hold allows you to drag the entire network image from place to place.
When Select mode is chosen, click, hold and drag causes the mouse pointer to select network nodes within the rectangle described by the drag motion.
In both move and select modes, when a mouse-click is initiated on a node or edge in a network, the focus concepts change. In the case of an individual concept, the node clicked will become slightly larger and will gain a yellow border. For an edge, the click will cause the edge color to darken and a triangle "down-arrow" will appear at its midpoint (more about the down-arrow in the section Action menu on Edge).
Also in either mode, when the mouse pointer is placed on a network node and the mouse button depressed and held the node can be repositioned within the graphic.
The Annotate function connects more concepts to each concept node in the network (in as much as such connected concepts are found). Clicking Annotate network opens a menu that allows you to choose a concept type category. After selecting a category click the Annotate button at the bottom right of the menu and the network will be modified to include new nodes from the category.
Clicking the Best fit button moves network nodes to evenly spaced positions around. WARNING! Best fit will remove manual rearrangements made to nodes. If you have moved nodes around and you wish to keep them in their moved positions do NOT click best fit. Best fit is also invoked every time a concepts clustered under their concept category are opened.
The Highlight option is most useful for complex network created when several concepts are submitted simultaneously. The purpose in a complex search is often to find which concepts intersect. Choosing Highlight causes mouse-over of a network element to visually emphasize the nodes and edges that are directly connected. This can be an aid in finding which nodes connect to several concepts and identify such intersections.
Choose the Highlight option and move the mouse-pointer onto a network node. Notice that all elements in the network except those directly connected to this node will dim but connected nodes and edges remain in strong color.
Elements of the Network and Grid allow you to initiate actions with a mouse.
In the Network image, clicking a node or edge changes the focus to the selected concept space. Each node also has a "down arrow" triangle that becomes visible on the upper right side of the node when under the mouse-pointer. A similar arrow appears at the mid-point of an edge. Clicking this triangle opens a menu of possible actions that can be initiated.
NOTE! In the initial presentation of the network, your search concept appears surrounded by clusters of concepts under their category names. In each category are the top concepts (as judged by Coremine Medical algorithms) connected to your search concept. A mouse-click on any cluster will "unstack" the nodes representing each concept in the category.
These are the actions that can be initiated with the mouse pointer in Network and Grid view:
Mouse-click on a network node or edge to redirect focus. That is, in the panel to the right of the network image under the heading "Based on your focus" is information pertaining to the focus concept. Clicking on a network node or edge causes the panel to be populated with information pertaining to that node or edge.
Notice also that by clicking a network node that it acquires a yellow border to indicate that it has been selected as the focus. Node borders may also be red, indicating that they represent the concepts submitted in the search. Nodes with a white border are those that were not among the submitted concepts. Clicking nodes with either white or red borders causes the concept to become the focus.
When an edge between two nodes is the focus concept it will appear as a red and black dashed line. Notice that both concepts will appear in the Focus panel. In a similar way to the border colors used on nodes, edges connecting concepts that were included in the search submission appear in red, while all other edges appear in a gray tone.
The "down-arrow" triangle is seen at the upper right of a node when activated by the mouse-pointer. That is, mouse-over of a node causes the node to expand and the triangle to become visible. Clicking this triangle causes a menu to open with the following action possibilities: Select; Expand; Remove; Open in new search; Add bookmark; Set alert.
The actions Remove, Open in new search, Add bookmark and Set alert can each be applied to an individual node (this concept) or all selected nodes (the selected concepts). Nodes can be marked for as selected using Select action in the menu. Nodes can also be marked as selected using the Network tools Mouse mode Select option discussed earlier.
By clicking Select the concept represented in the node is selected for future action. Note that a yellow border appears on the node when selected. Yellow borders also appear when a node represents a focus concept. However, the Select action does not cause the content presented in the focus panel to be redirected to the concept in the selected node.
Expand appends additional concepts to a concept node. Click Expand to open a menu box. The menu lists concept types, each with a slider bar for selecting the number of concepts you would like to add. Adjust slider bars as appropriate and click the Expand button at the lower right of the menu.
Removes the node (or all selected nodes).
Opens a new search with the selected concepts, replacing the current network with the results of the new search.
Bookmarking a concept helps you find this concept again in the future. Bookmarks are stored in a table under My Page, Bookmarks.
With Set alert you can choose to receive email alerts on new information pertaining to the concept. If alerts are already activated the menu will show the Modify alert option, allowing you to change the alert type or to remove the concept from list of alerts.
This action changes the information presented in the Focus panel to include the connected concepts (it has the same effect as clicking the edge anywhere outside of the down-arrow). At the top of the panel you will see the names of both concepts. In the Common extracted knowledge section are concepts that are associated with both concepts. Similarly, under Common related articles and hits are articles, websites, etc. that discuss the connected concepts. Common user updated content shows context notes submitted by user on the intersection of the connected concepts.
Here a new search will be launched and a network created that includes concepts associated with either of the connected concepts.
Clicking Set alert will initiate email messaging when new information becomes available on the connection of the concepts. Once an alert is set on the connection, the option shown will be Modify alert, in which case you can decide to change alert status or remove the alert entirely.
Directly below the network image is a short list of recent search items. You can click on any of these to return to results obtained earlier searches.
A more complete history of searches can be found under My Page Search History.