
 My Page is a "personal workspace" that can be used to store information gathered while exploring and build your understanding.
Most of the features under My Page become active only after
you login as a registered user. Once logged in you will see the following tabs in the My Page pane:
Search History opens a list of recent Searches presented
in a table. The content of the table is presented in chronological order (most recent Searches at the top). The table has three columns: Date, Origin and Your search. Entries in the Origin column show the general class of search (whether it was launched using a concept or Expert, for example). The entries in the Your search column list the search words used.
At the bottom left corner under the table is a statement of the number of searches recorded in your history. If you are not logged in as a registered user, Search History will only list searches from the immediate session. User login brings up all previous searches made under your registered name.
At the center just under the table is a page browsing gadget, and to the right of that a Go To Page submission field allowing you to type in a desired page number.
To re-run a search, use the mouse-pointer to click the desired row in the Search History table. Note that the row is highlighted after clicking. Once highlighted, click the Re-run selected button (green) at the bottom right of the panel.
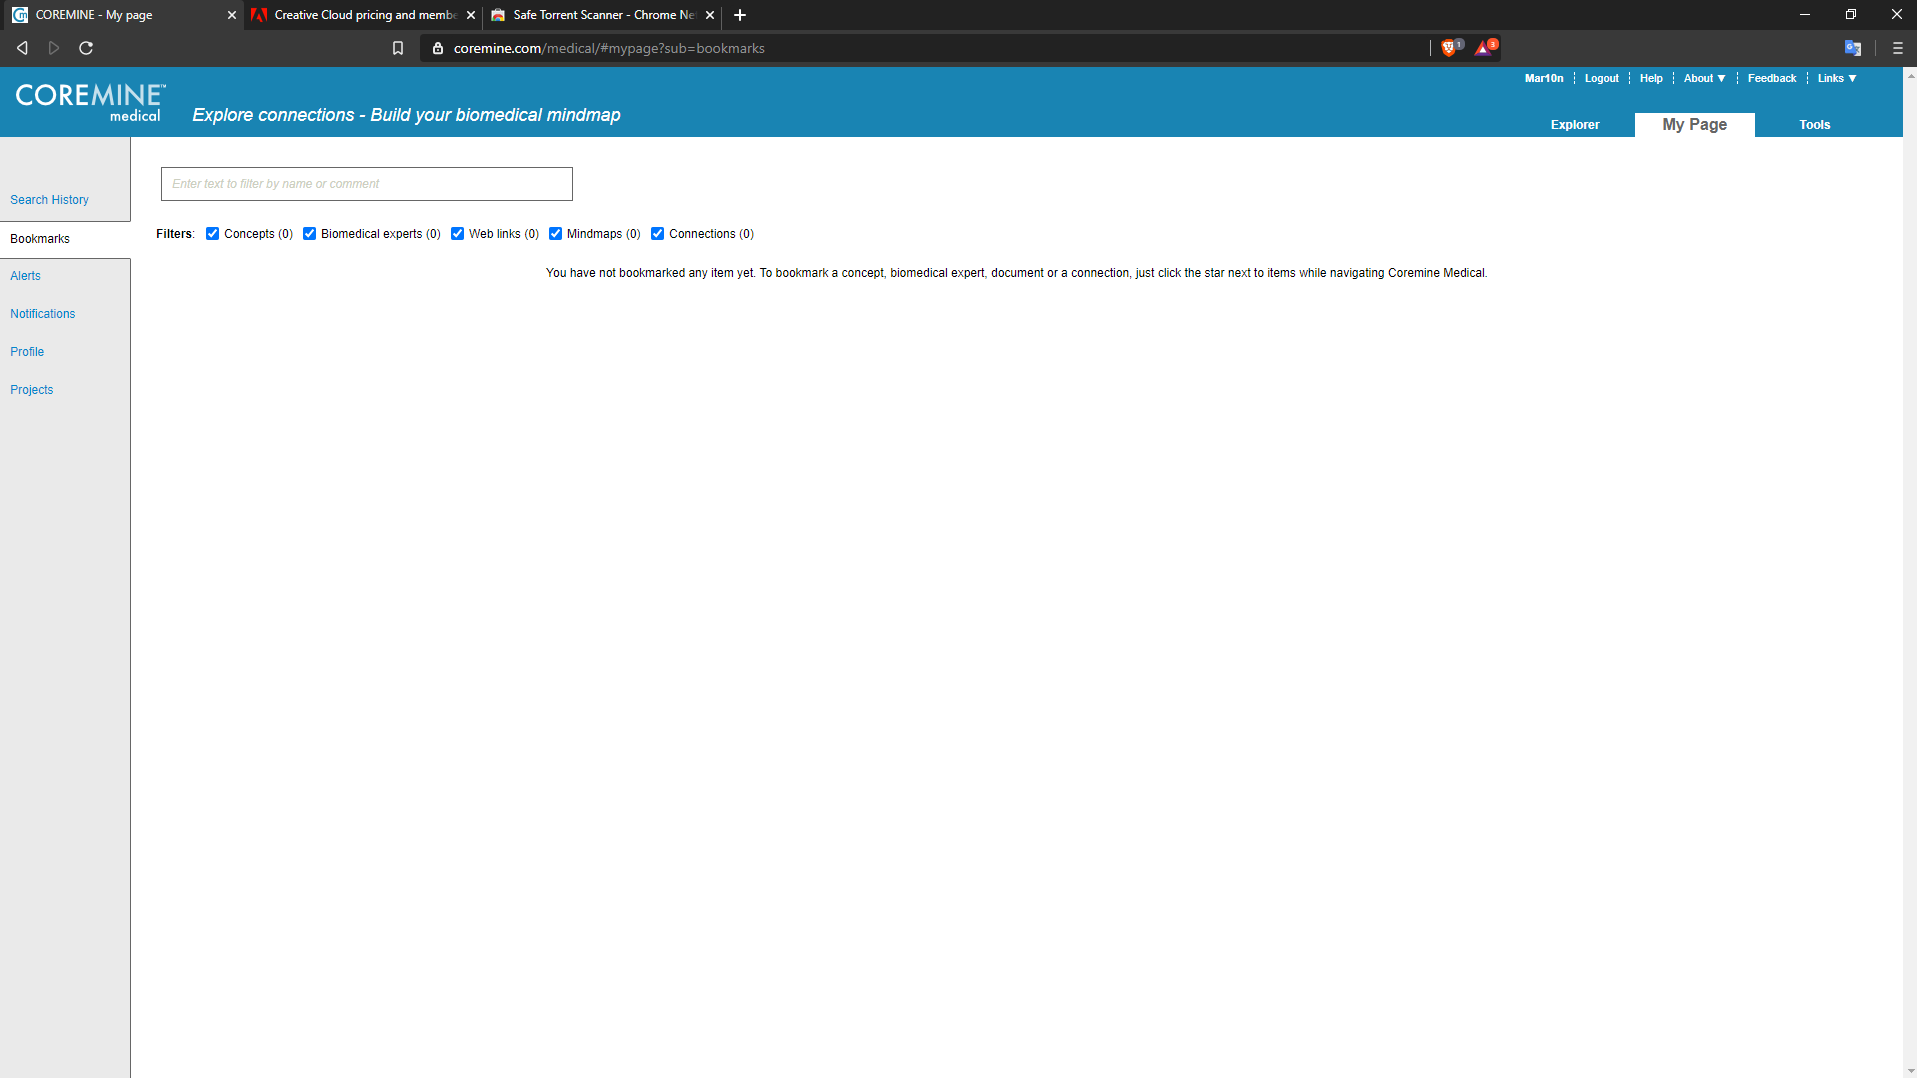
Bookmarking items of interest while exploring helps you to remember concepts and to find these later when you return to Coremine Medical.
From the Bookmarks pane you take several actions: View bookmarked items; Activate email alerts; Share item; Comment on bookmarked item; Delete Bookmark; Launch search in Explorer with bookmarked item.
View bookmarked items
Bookmarked items are listed in a table. That is, concepts, Biomedical expert names and Documents saved from Explorer Actions menus or the Focus panel Bookmark (star shaped button) will appear in the table.
Above the table is a search field as well as filter options. The search field can be used to search for a bookmarked item within the table. Filter check boxes can be used to limit which types of bookmarked items are displayed in the table: Concepts (i.e. biomedical terms); Biomedical experts; Documents (MEDLINE records).
The Bookmarks table has six columns with these headings:
This tab shows items from your Bookmarks associated with e-mail alerts. Use the "Edit" button to change the parameters and status of alerts.
Here you can view activity on Alert items. There are two tables shown.
In the top table is a list of the items that have triggered an alert in the last round of data update to Coremine Medical. In this table you will see the date that the alert was triggered, the subject (alert item) and the type of notification (that the notification regards an alert item).
In the lower table you will see a list of articles where each row contains the PubMed Identification Number (PMID) and the title of the article. The PMID forms a hyperlink that will open the article abstract in Tools>Library>View article.
Under My Profile you see a box describing information about your Coremine Medical account. Click the "Edit" button at the bottom of the field if you wish to make changes to this information. In edit mode you will see three editable fields in the Personal information box:
The "Occupation" field contains a list of possible occupations as well as the option to enter "Other".